Streamlit Sharing for Beginners
Dig in to find out how you can deploy streamlit web apps for free


Most machine learning enthusiasts would be familiar with this framework.
Streamlit is an open-source, free framework using which you can build data web apps in less amount of time. And you ask me what's so special about it !? Well, it is the fact that you can develop web apps without any frontend knowledge !!! Sounds cool ! right ?
It has a very user-friendly interface using which you can turn your data scripts into cool apps within minutes . It is all written in python and you just have typed these magical words to install streamlit .
pip install streamlit
or if pip isn't working then you can try this
conda install -c conda-forge streamlit
That's it! You have installed streamlit. Since this post is dedicated to streamlit deployment, I am gonna restrict myself here, and soon, I will make a post on streamlit for beginners.
Now that you have built an app, You can run it only on your localhost. Imagine, you are sitting for interviews and you have mentioned your project in the resume. It will be really cool to attach a working link of your project which can be run anywhere and at anytime without depending on your localhost! Wondering how you can do that !?
We have many free and paid deployment platforms like Heroku, where deployment is very easy. You also have GitHub IO where you can deploy your static webpages.
Streamlit sharing is one such platform where you can make your web apps sharable. It is a perfect choice if your project is hosted public in GitHub.
I will list out the steps you need to follow in order to deploy your app.
First, you have to request an invite from the streamlit sharing over here.
I got my invite acceptance after 5 days and hopefully, it will be the case for everyone. Check your mail(spam folder too) and once you are accepted, You are ready to deploy.
Now, push your projects into your GitHub repository(You need to be familiar with GitHub !), and don't forget to add the requirements.txt files the same as you do for Heroku. Make sure your repository is public.
4.Visit the streamlit share link here:click
Now you can see the sign-in page.

5.Sign in either using your email id or using your Github account.I prefer GitHub. 
- After you sign in, You can see like this

7.click on new app -> From existing repo.

Now you will be directed to this page.
 . Here my GitHub is pasted by default. You can even paste the desired URL here.
After you click deploy, then you can see a screen like this. It will take some time to deploy.

If the app is compiled without errors, It will be shown like this.
 . I showed the demo with a sample app available.
Try this out with the sample app to get the taste of streamlit by following these steps:
Click new app -> from sample app template.

You will see a message window like this.
 Click on Get Authorization and fork sample app.
3.You need to authorize to your github account. After that you can see a window similar to this.
 Click deploy and you can see the app compiling and finally running.
Note: You can look and monitor your deployed apps from the dashboard.

We have come to the end.I guess this article went too long and it is really a big one for my first article here!
Do like and share my work as it motivates me a lot to write and learn more !
Before concluding .. one important point to consider :
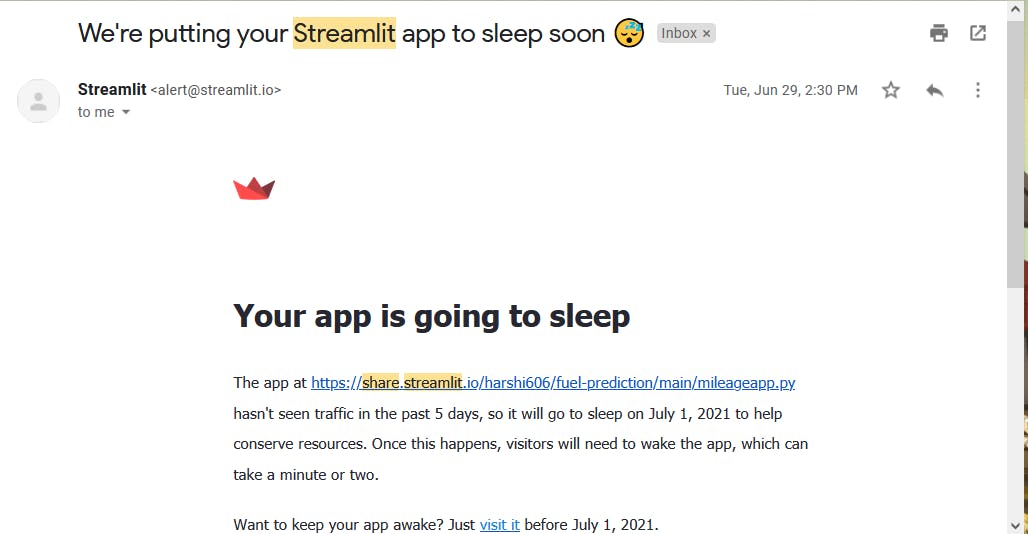
- Streamlit puts your apps to sleep if you don't check it frequently. So make sure you watch out for a mail something like these:
Happy Reading! ;)